Go to the child’s record under the Children menu.
Let’s apply a fee schedule to an account. Before we do this, make sure that you have at least one x payee assigned to this account first. This can be done from the Contacts tab.
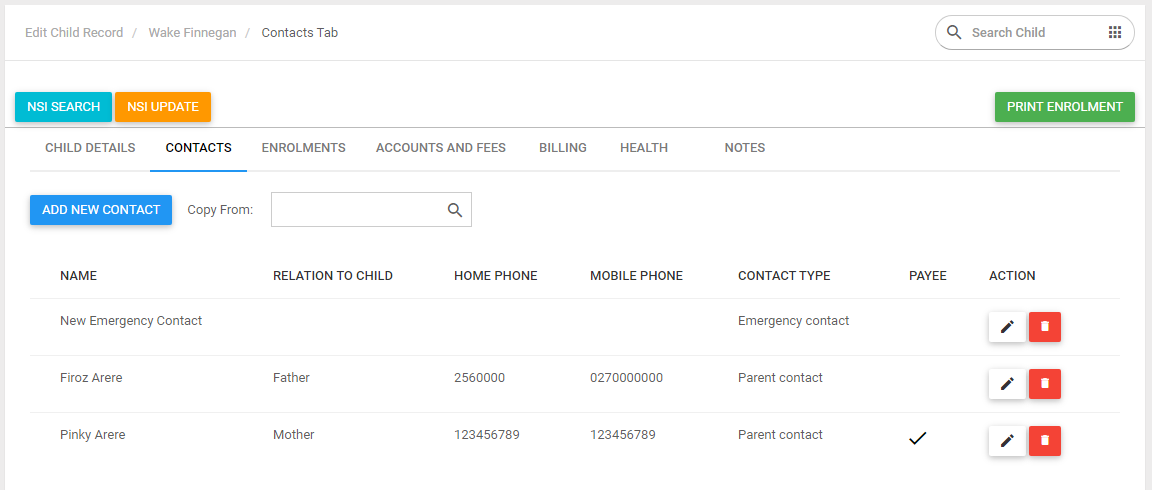
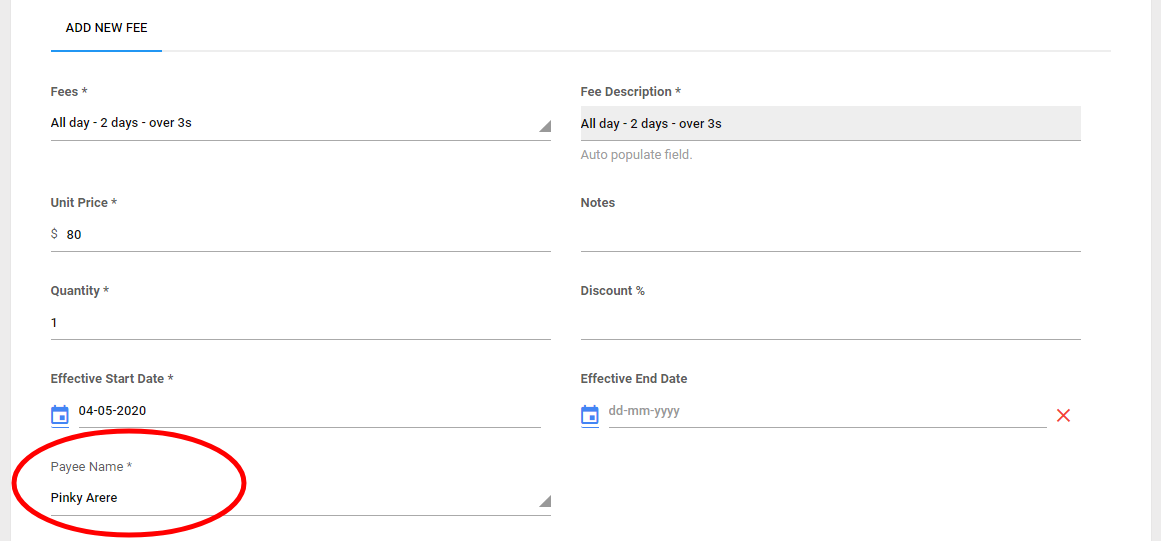
Navigate to Accounts & Fees tab then click Add New Fees. If you only have ONE payee for this account, then you don’t have to do anything. The system will automatically use that payee by default in the Payee name as shown in snapshot below.
However, if a child has more than one payee and the account needs to have different charges set up for each of those payees, then select them from within the Payee dropdown and assign the fees accordingly.

Now you would wonder why do we need to assign a payee per fee type?
This is so that if there are separated family accounts or fees that are shared between the caregivers then they can be assigned individually to each account.
Adding new Fees
Click “ADD NEW FEES”.
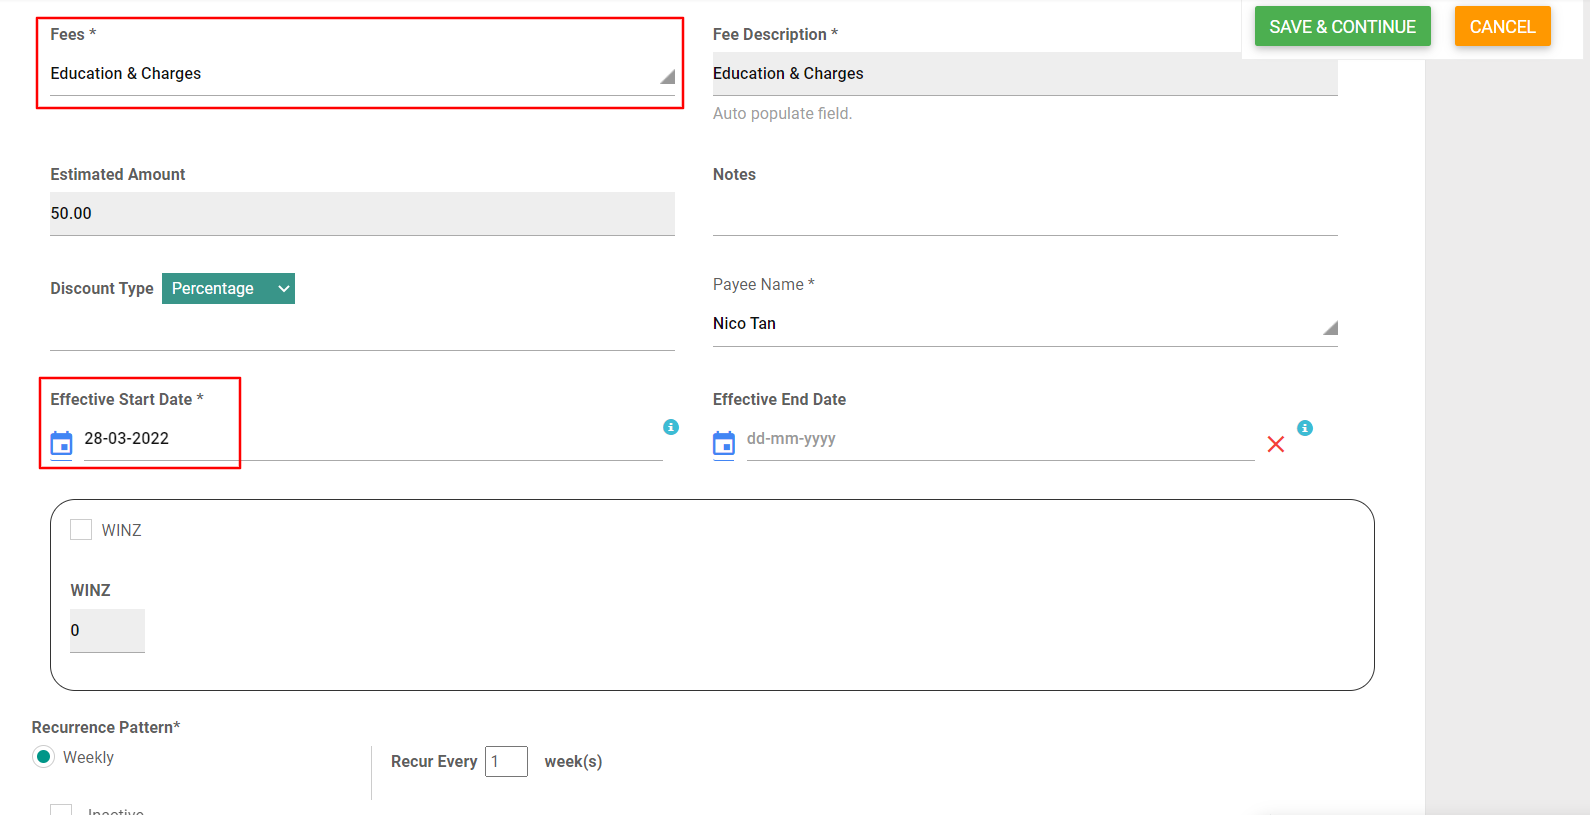
| a. Select Fees from drop down. | All these fees are setup on the fees table under the Settings module |
| b. Fees Description | All these fields will populate with the information you have setup from the fees table. |
| c. Enter Unit price | |
| d. Notes | |
| e. Quantity | |
| f. Enter in Discount |
Please note: The total sum will not be shown in this window for Hourly Fees structures.
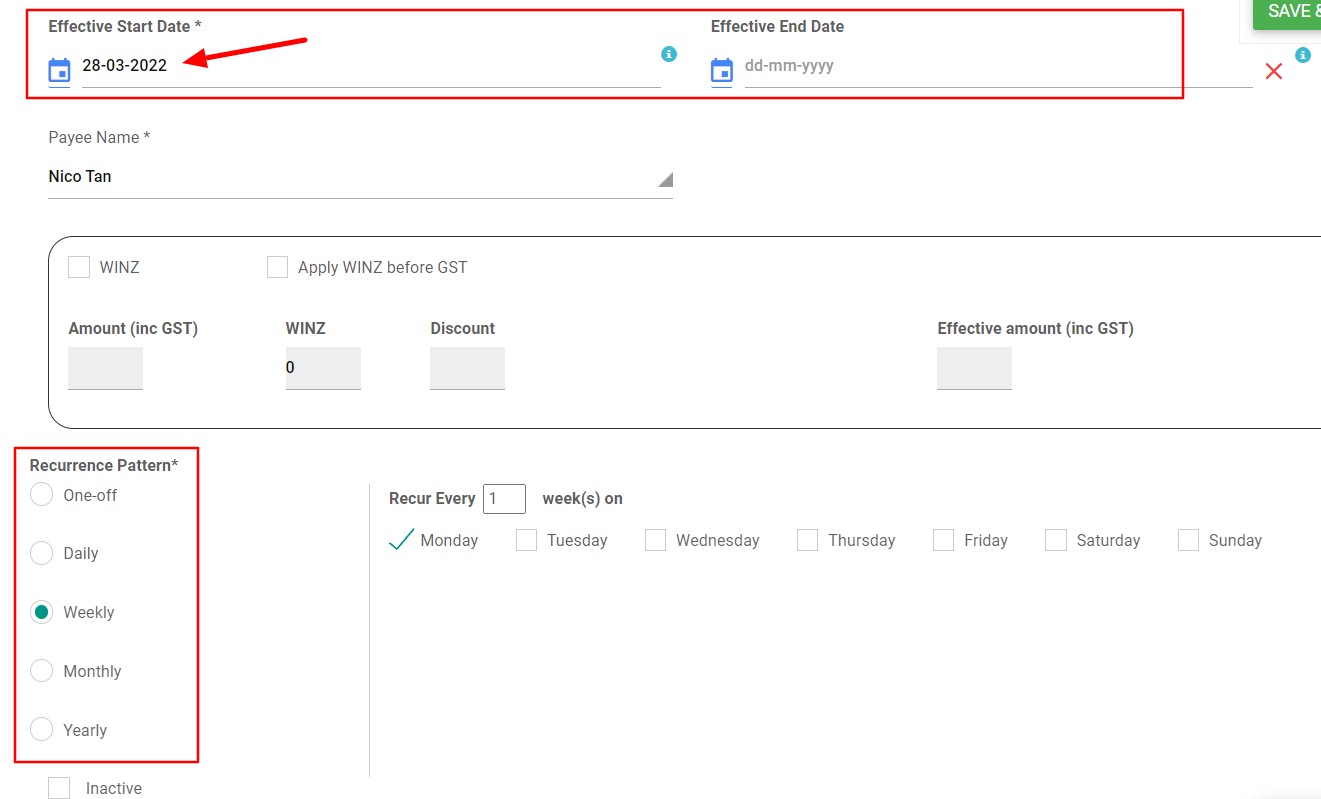
Recurrence Pattern:
- Fees will be applied to a child with a re-occurrence pattern or a one-off payment.
(This will generate an automatic billing report for the invoice). - Effective start date can be no earlier than the present date.
- The “Generate Invoice Now” button will generate an invoice for you for the fees you have just added.
