How to mark new enquiries to Waiting
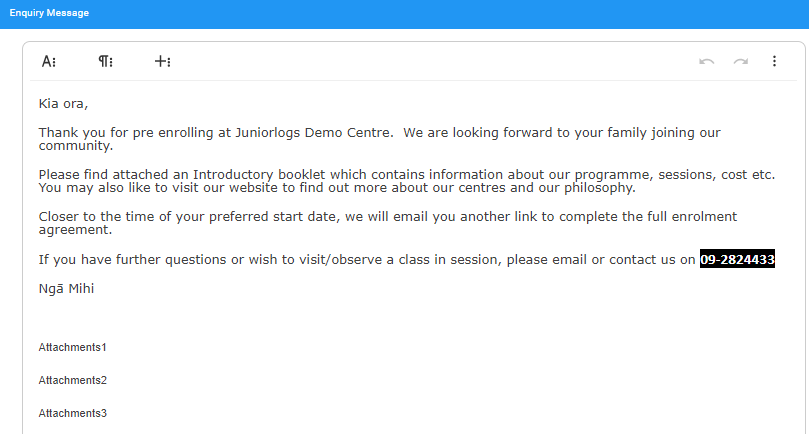
An acknowledgement message should be configured/set up for your new enquiries. This could be thanking the prospective parents for their message and you could also send them the information pack or your fee schedule and policies.
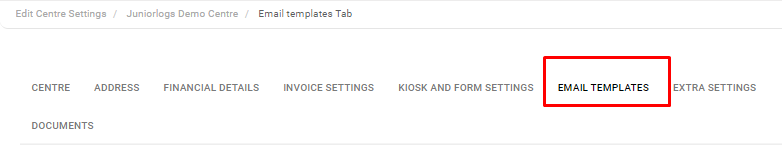
To set up this message:
Menu > Settings > Edit Centre > Email Templates tab > Enquiry Message section
New Enquiries received by the centre are automatically saved under:
Menu > List View > New Enrolment Enquiries

- Enquiry Status: New Enquiry
- New Enquiry Status have 3 option Tabs:
- Mark Waiting
- Send No Vacancy Email
- Send Enrolment form

New Enquiry to Mark Waiting:
Select Mark Waiting:
Clicking on this tab will give a pop-up message and the enquiry will be automatically marked under Waiting Enquiry Status.

Other options
- Select No Vacancy Email: If there is no vacancy
- Select Send Enrolment Form: To send enrolment form to sender’s email address
