Setting up Xero 2-Way Integration
Getting Started:
Connecting to your Xero account from Juniorlogs
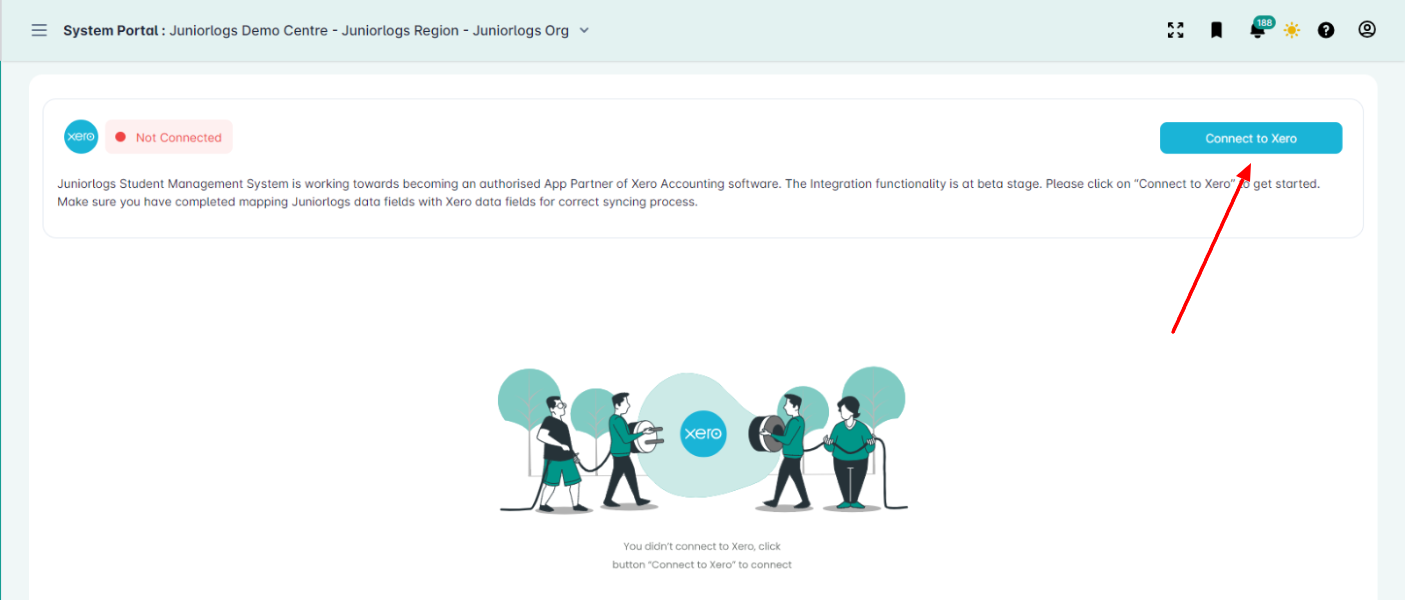
In Juniorlogs – Navigate to Xero Integration menu, select Xero option.
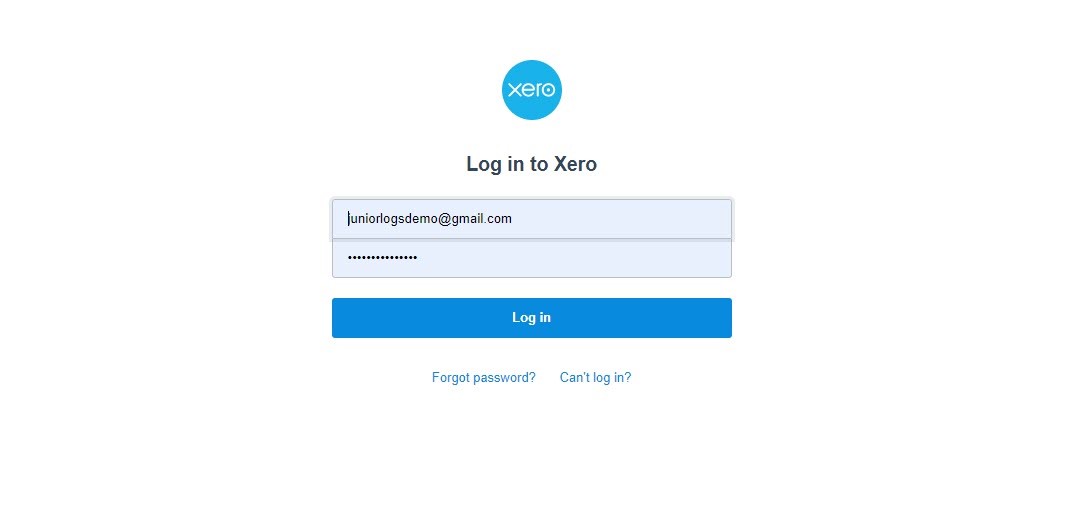
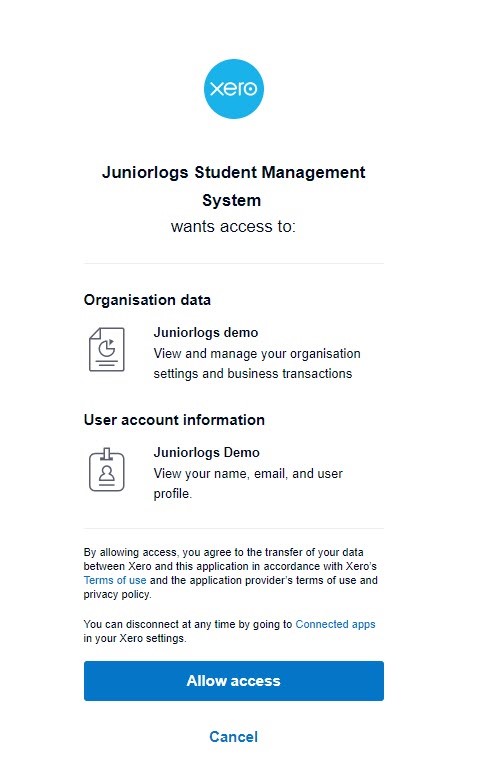
- Fill in the username and password options to get connected to your xero account first.
- Once connected, you should see Connected signal in green.
Sync invoices to Xero
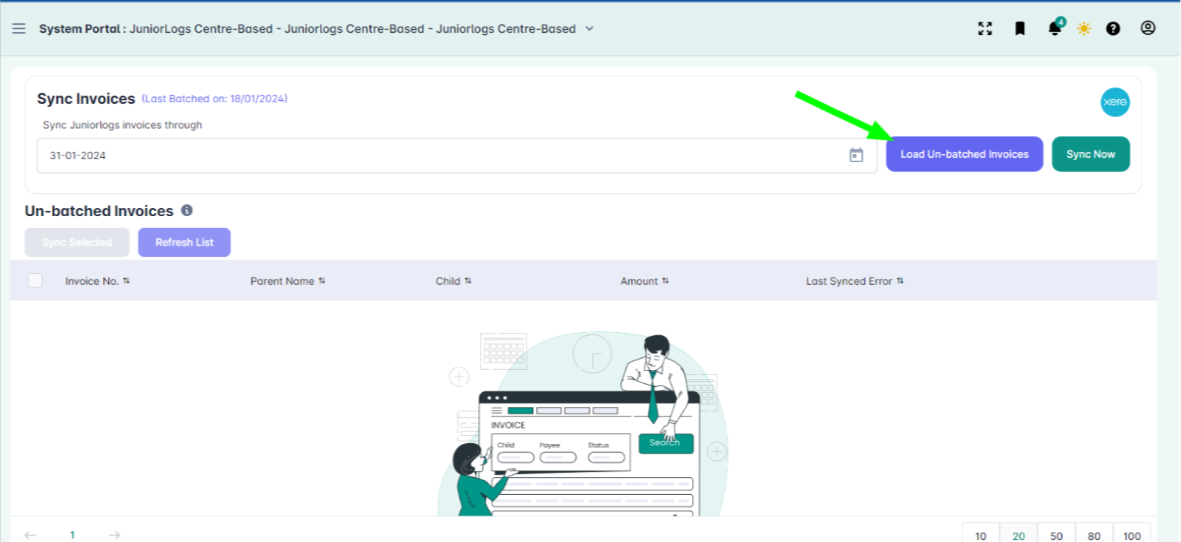
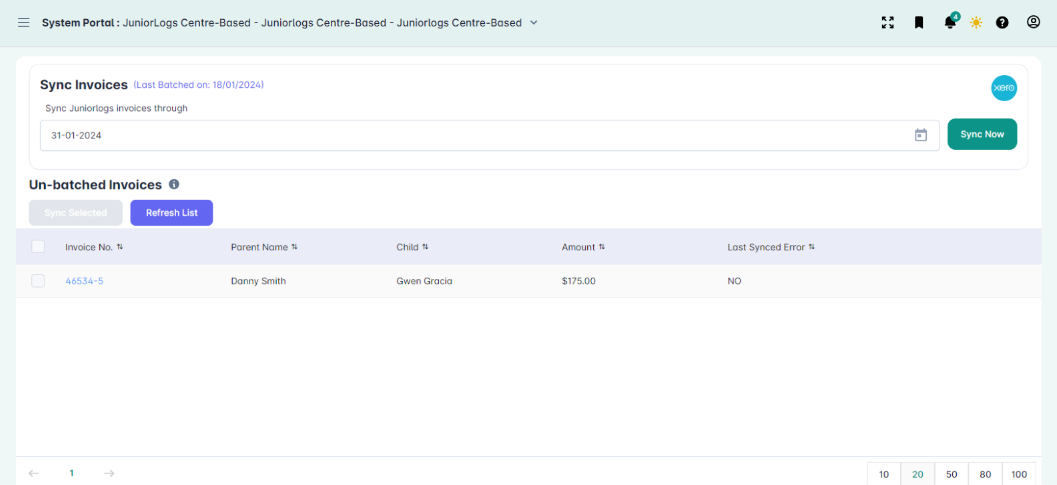
- Select Sync invoices option and click load-unbatched invoices.
- All invoices, which have not been synced to Xero, yet, will appear here. Invoices that have already been synced to Xero will not show up in this list.
- To Sync an invoice, click on the checkbox next to the invoice and click sync selected.
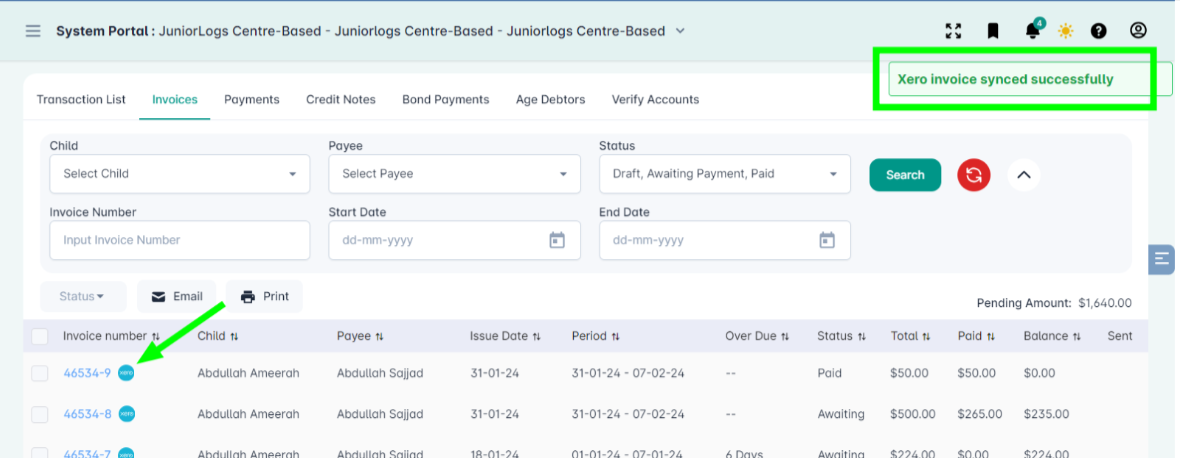
- A pop up will appear on the top-right when the invoice has synced successfully. You can also sync multiple invoices in one go.
Updating Xero Invoices
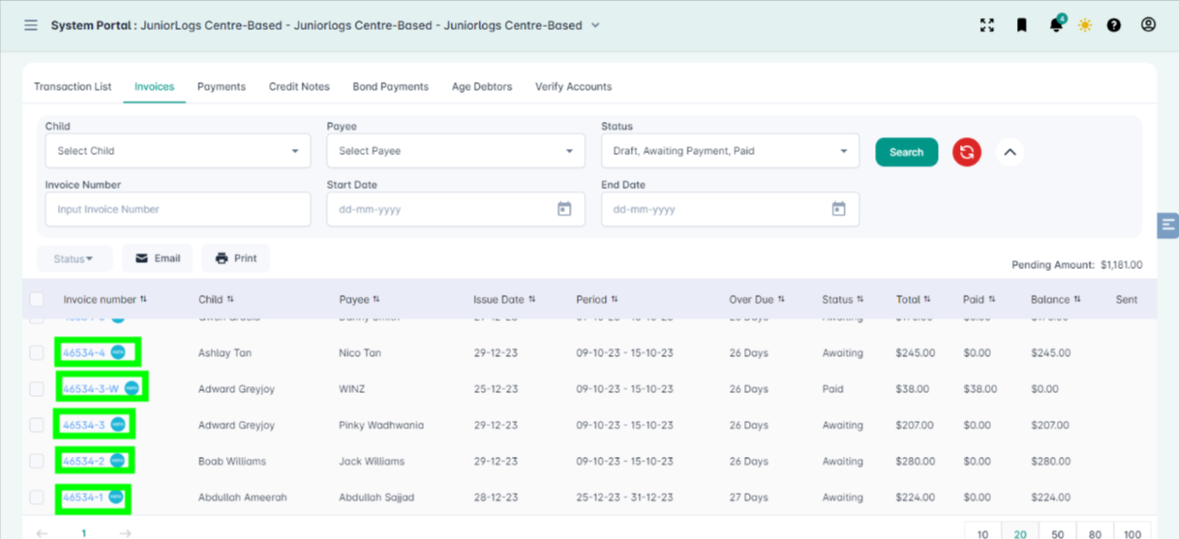
- Successfully synced invoices will have a Xero sync button next to them.
- If a payment is applied to any invoice in Xero, those changes are automatically visible in Juniorlogs as well. However, due to any reason, if the payments are not visible in Juniorlogs, you can always click the Xero sync button to sync payments again for that particular invoice. Once successful, a pop up will be visible on the screen.
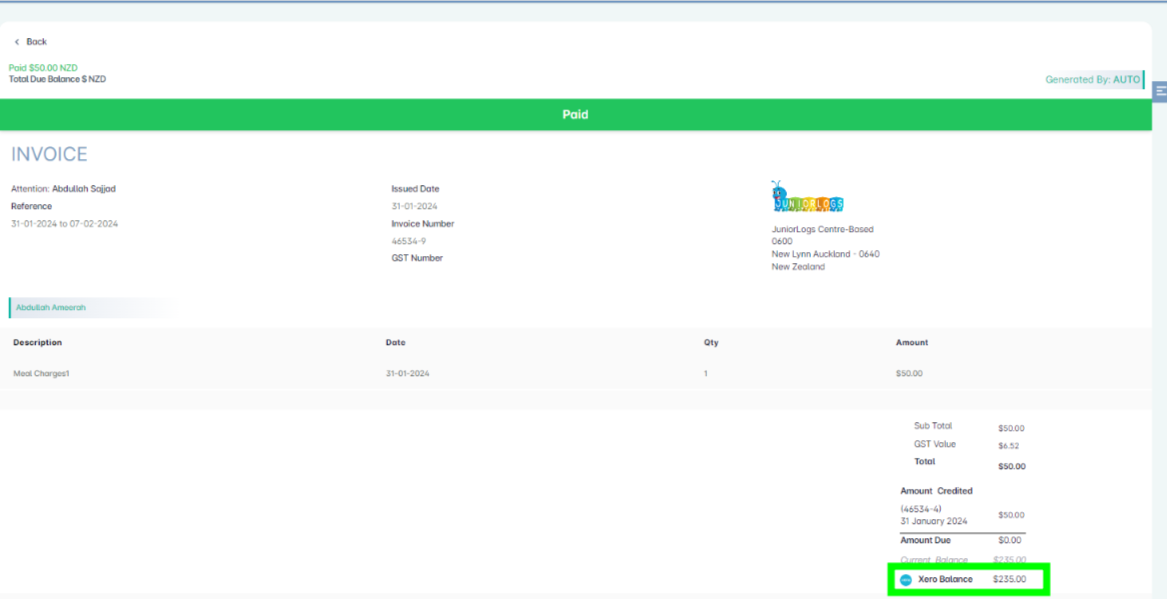
- Lastly, Centre admins have the facility of viewing the live Xero account balance of each child within Juniorlogs. Simply open up any invoice and on the bottom, you will be able to see the Xero balance. This is provided so that the Centre can ensure that there is no mismatch of balances between Xero and Juniorlogs. This balance will not be visible if the invoice is emailed or printed.
