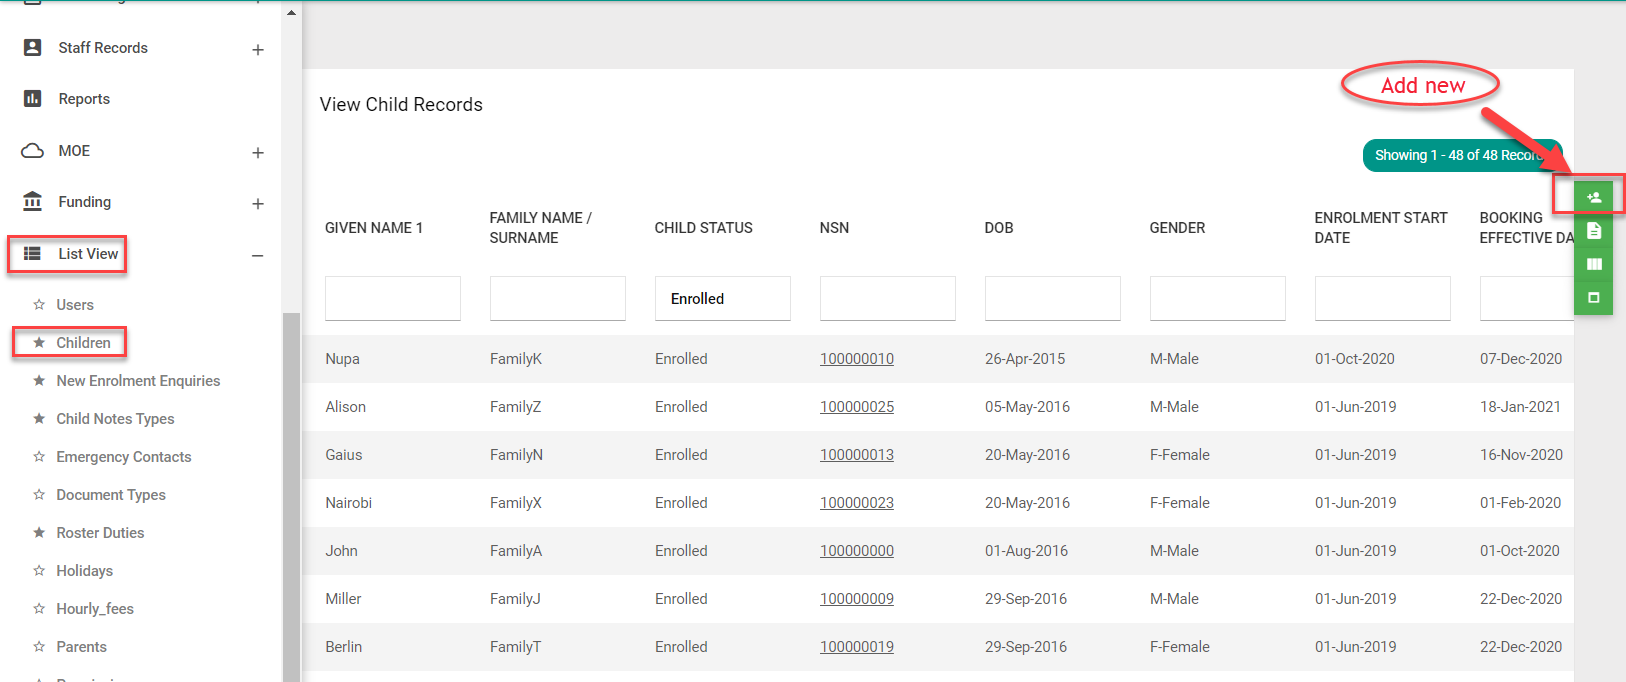
Navigate to Left Menu > List View > Children > Add New icon
Child Details:
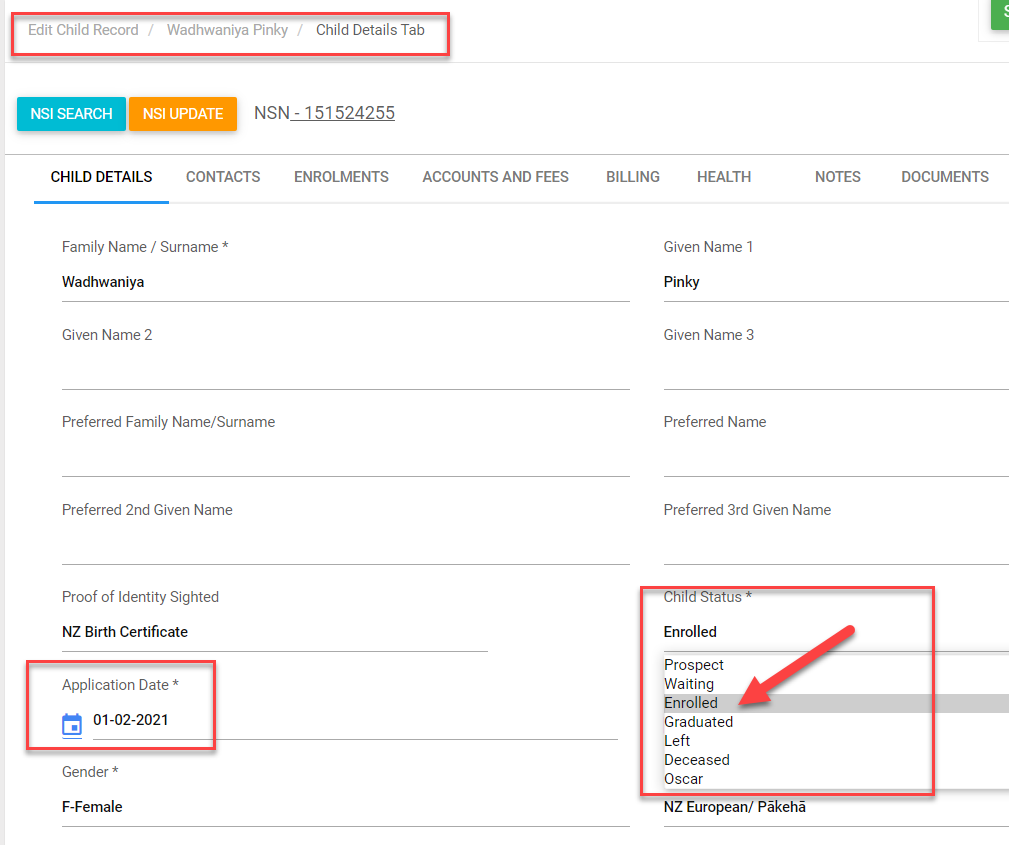
All fields with an Asterisk mark (*) needs to be filled in:
- Child Status:
- Enrolled – Select this if you are enrolling the child
- Waiting – Select this when you don’t have full information and would like to come back to this record later.
- Application date: Date field
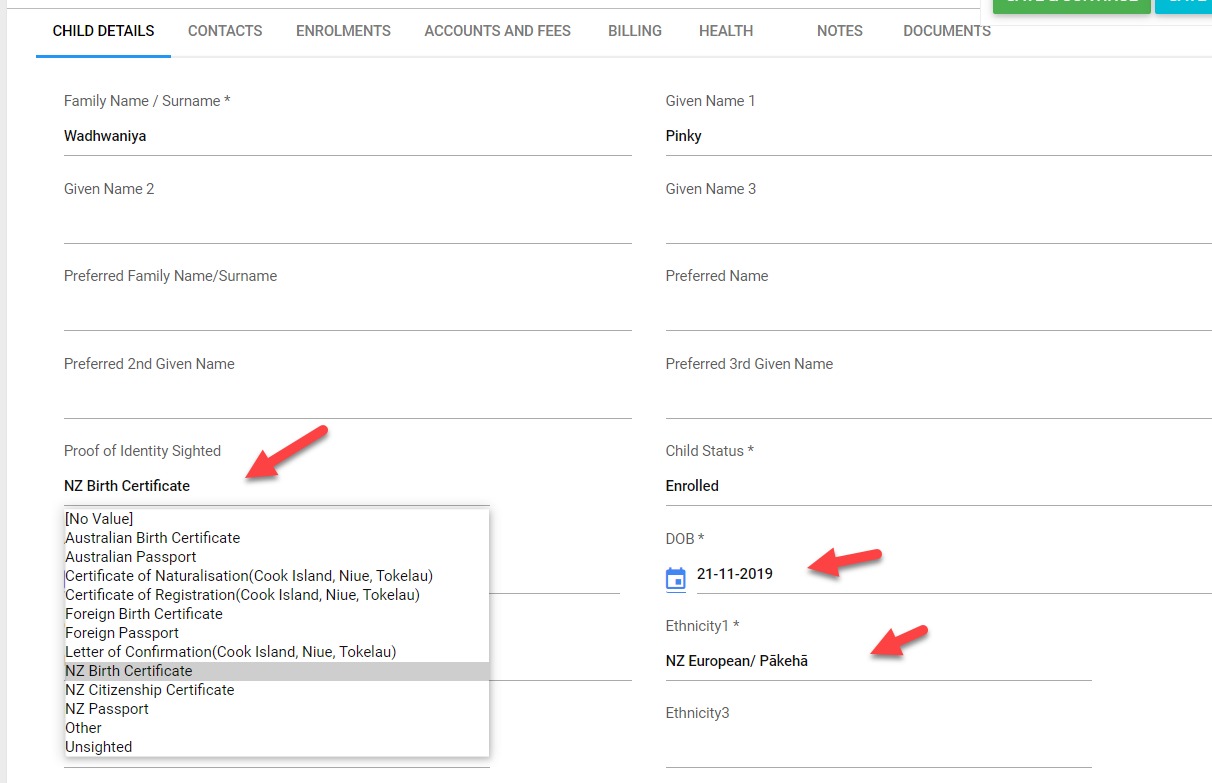
- Proof of Identity – If you don’t receive the proof at the time of enrolment then the field can be added as Unsighted and it can be updated later.
- DOB, Gender, Ethnicity code, Language 1 fields need to be filled.
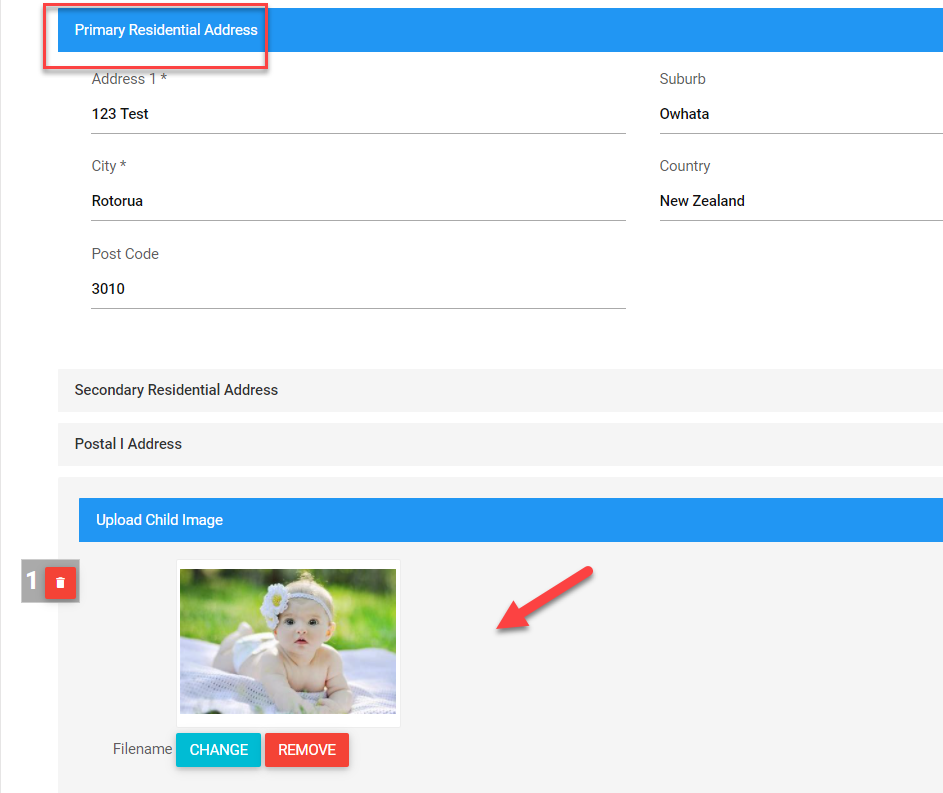
- The Address field is integrated with New Zealand post address finder, so when any address is added in the field, the list of matching names will be shown and you can select from the list to have the selected address added for you automatically.
- Child Picture can also be uploaded.
- Once the Details tab has all the info filled out, click on NSI Search button to add the NSN for the child record.

- Once this is done successfully, proceed to adding more info on the child enrolment – Contacts, Enrolments, Accounts & Fees, Health and other info.
Contacts Tab:
- Under the Contacts tab > add the contacts for the child using the Add new contact button.
- For sibling records, just copy the contacts of the other sibling through the search bar.
- Assign the relevant contact(s) as Payee – this will allocate the Payee Reference code for their account.
- Enable Sibling invoice check box if you wish to combine invoices for sibling accounts.
- Save and continue

Enrolments Tab:
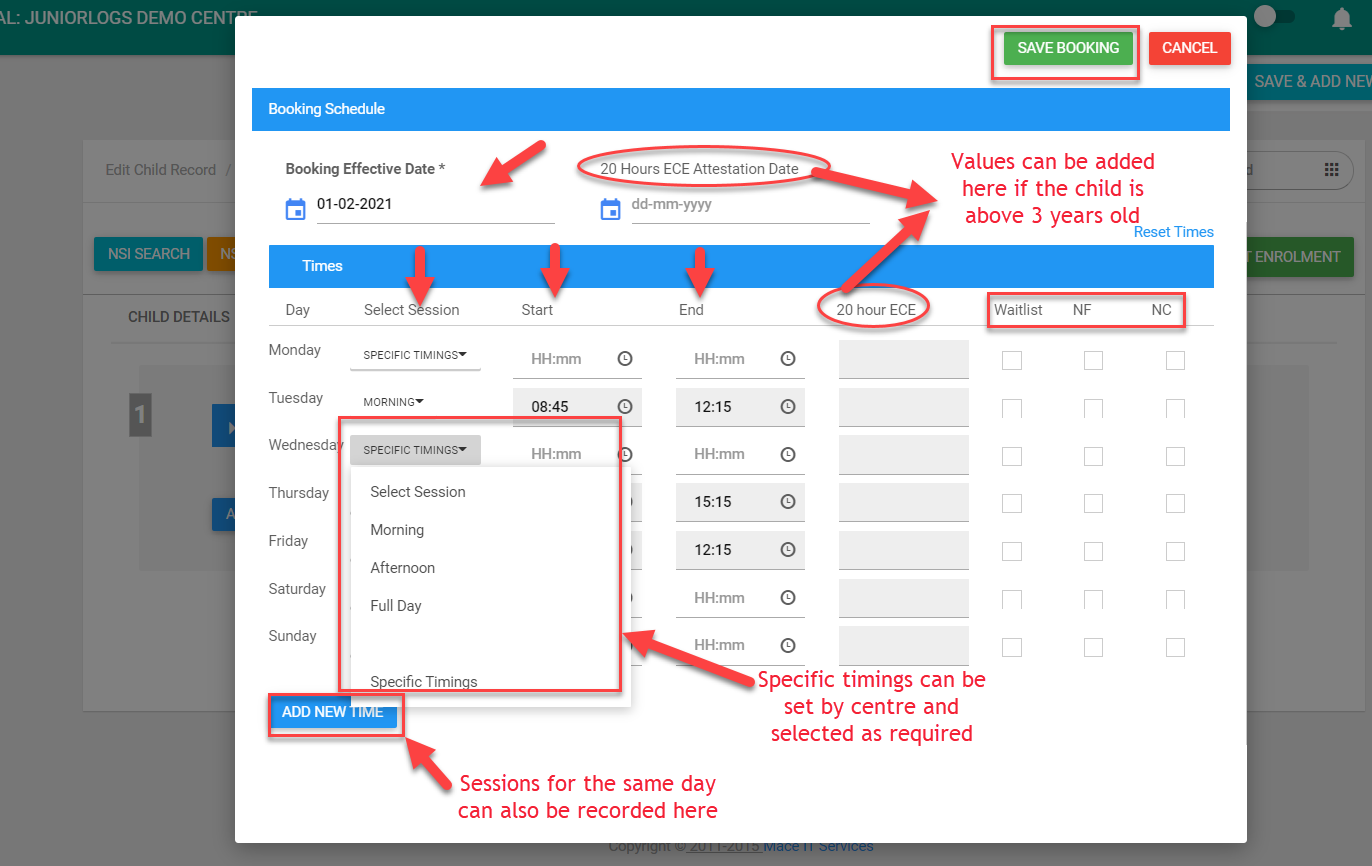
Add Booking schedule on this tab.
Click the Add New Booking button, select days and times as required > Save.
Once booking is created, the attestation form will get downloaded automatically to your computer and you can get it attested/signed by a parent.
Add booking pop-up; fill out all required details > Save Booking > Save and Continue
- More information on how to work with bookings on this link: New Booking Changes
Accounts and Fees Tab:
Set up the account with WINZ and fee schedule info.
- WINZ subsidy: Add WINZ details as shown on the screenshot below
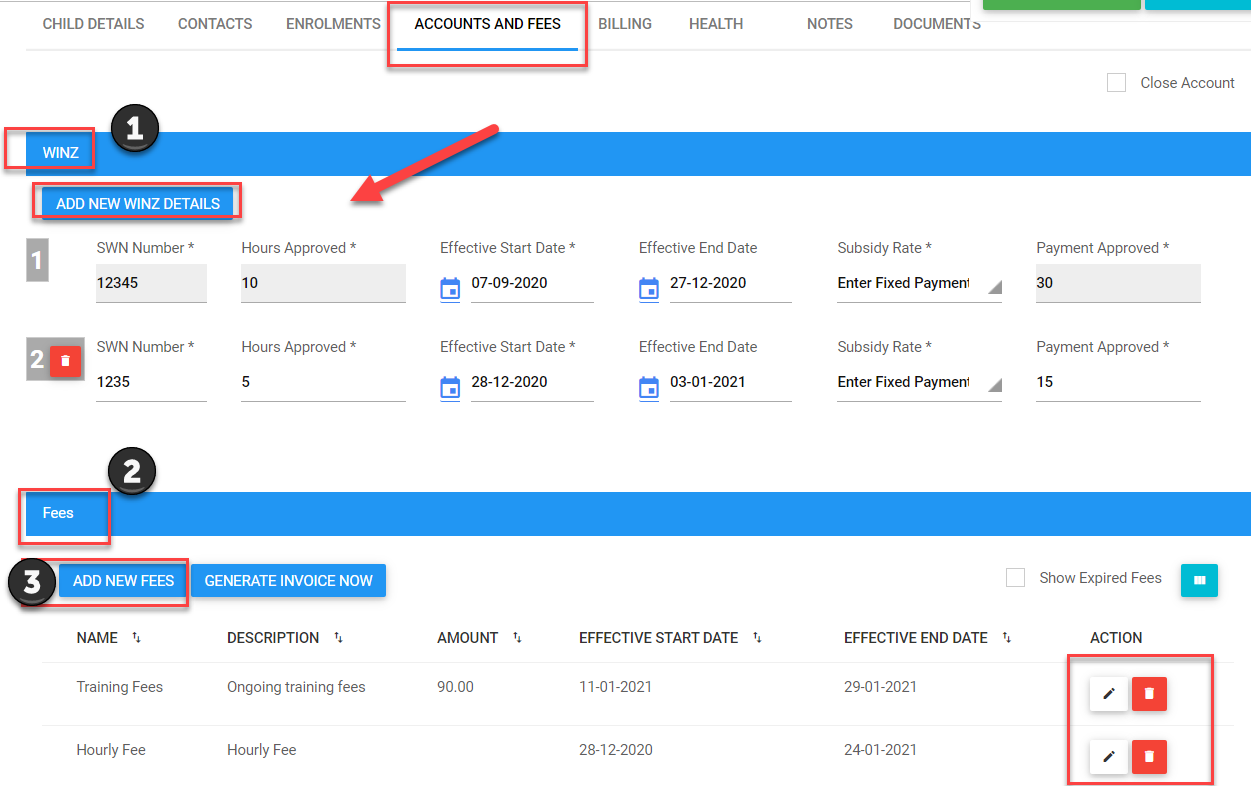
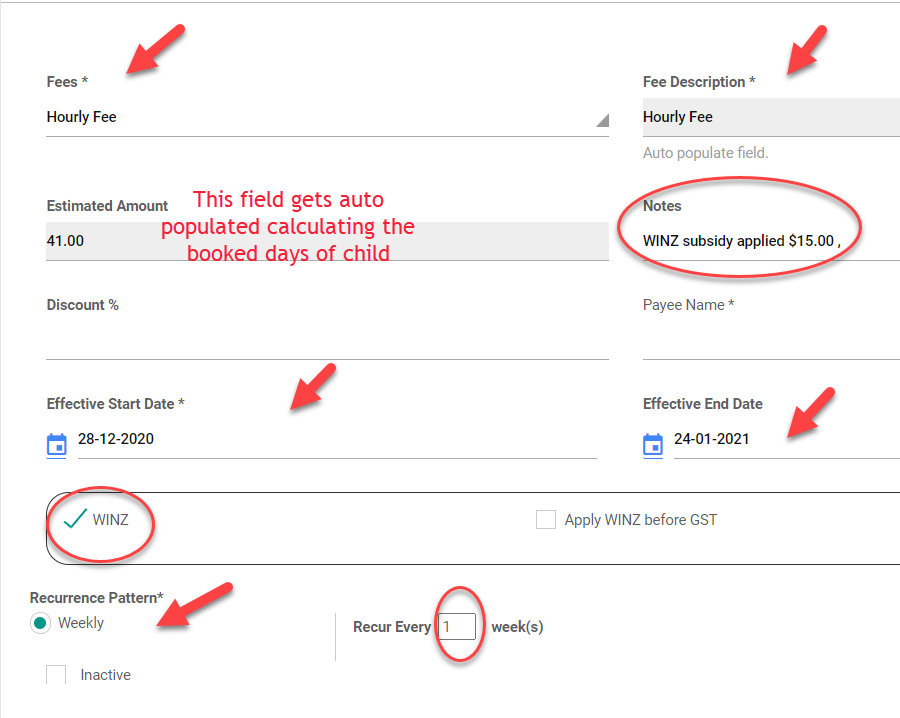
- Select Add New Fees button
- Select the fee name then the amount gets auto populated.
- Add Effective Start date
- Select WINZ checkbox if there is a WINZ payment; you will see the Note field with the relevant info.
- Select Recurrence pattern to Weekly
- Save and Continue
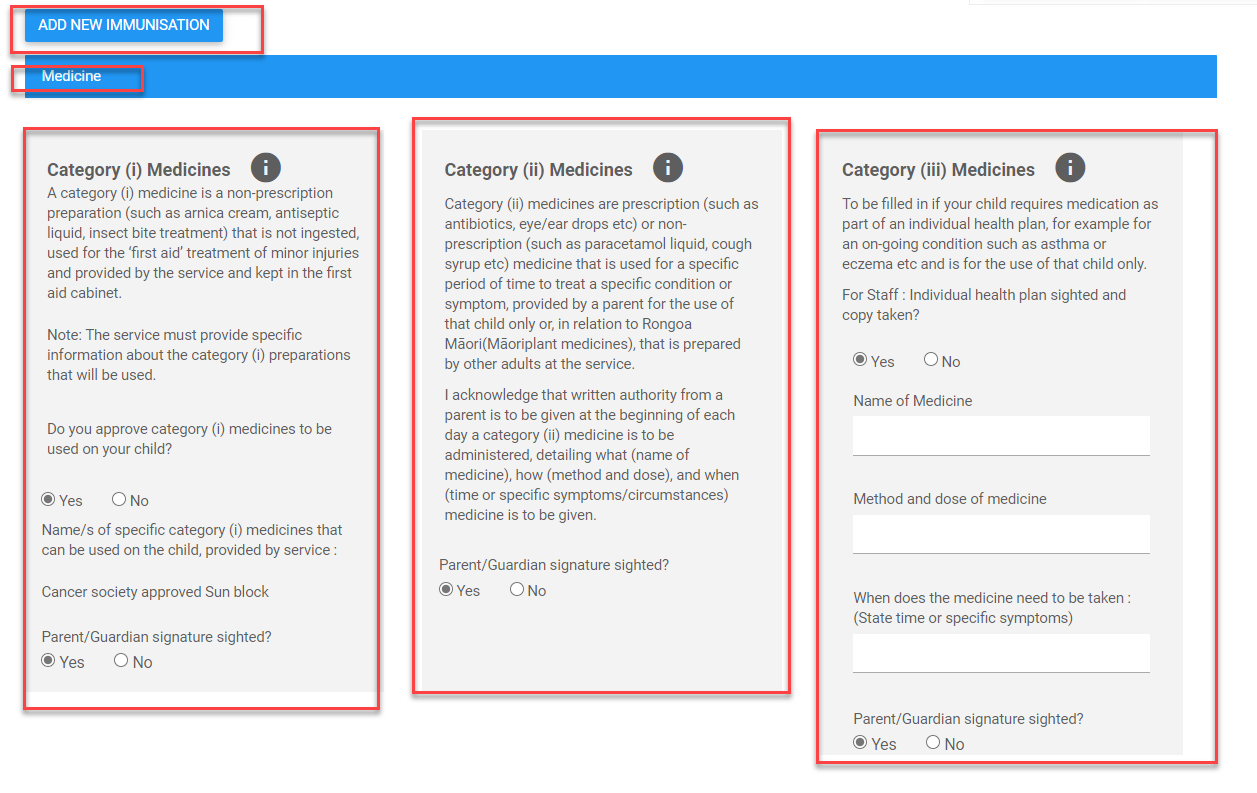
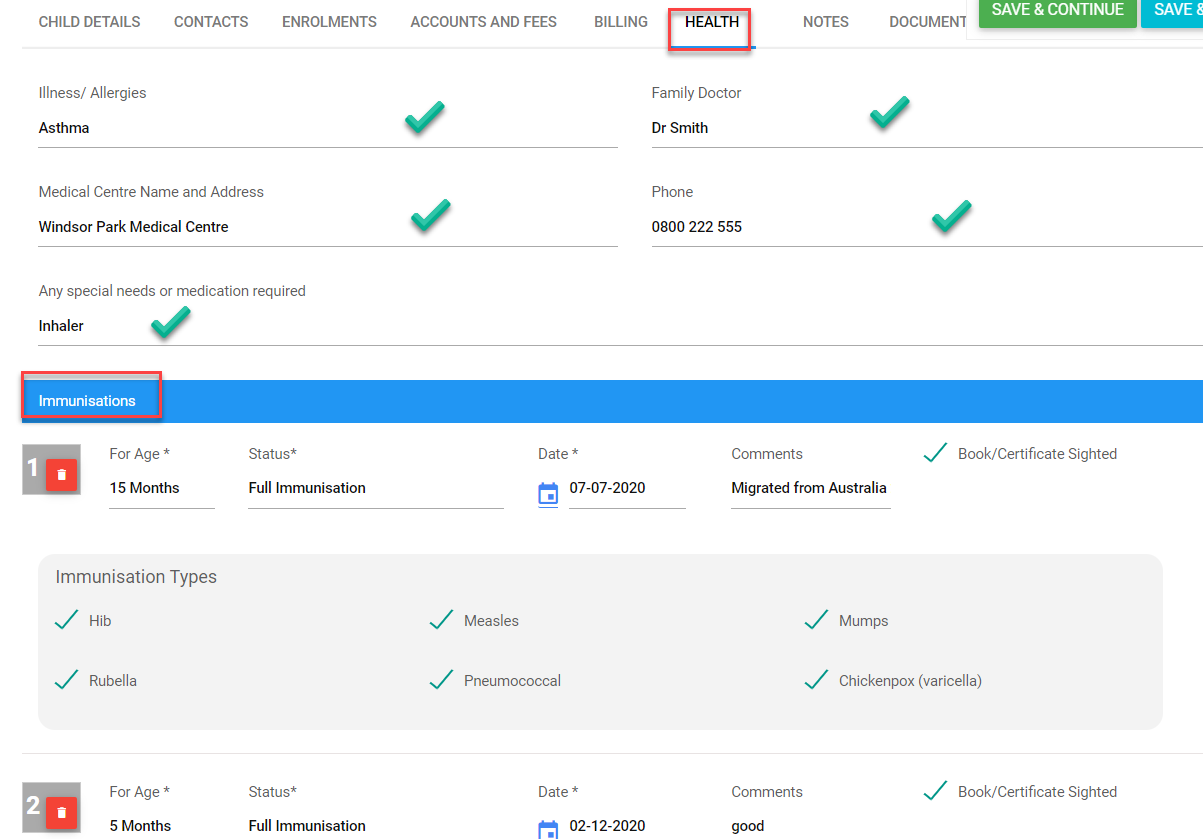
Health Tab:
- Add Immunization and other health related information here
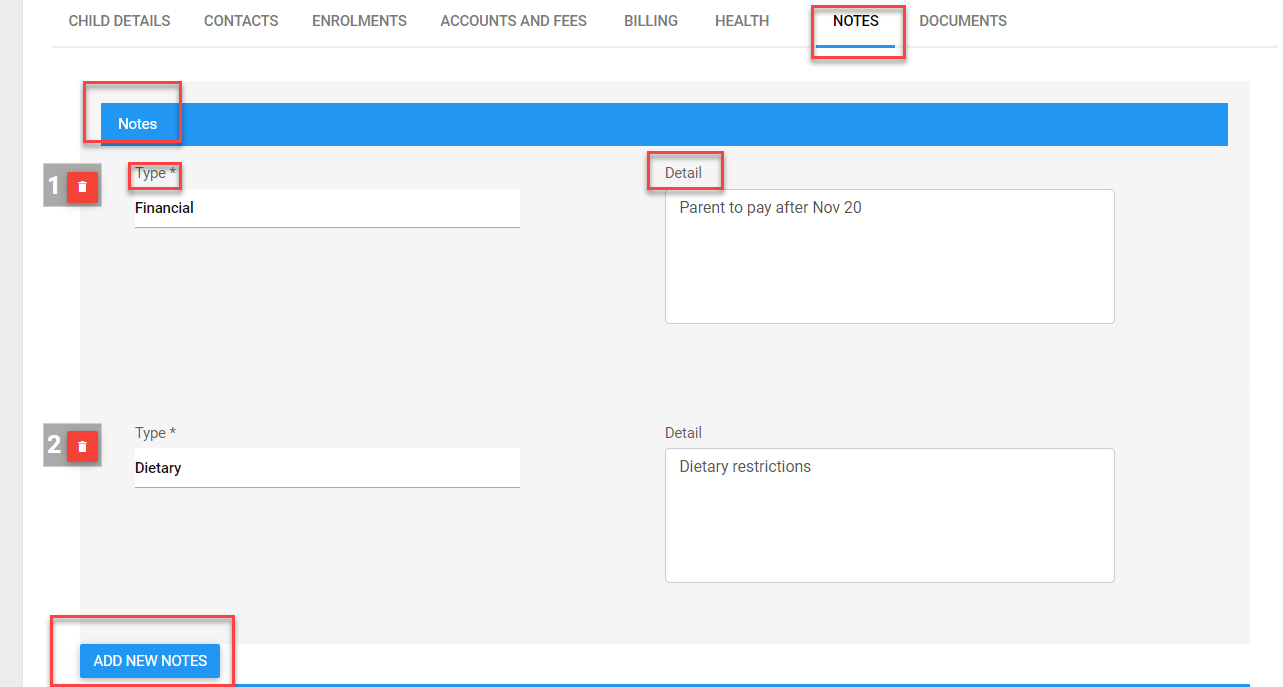
Notes Tab (optional):
- Select Add New Notes button to add notes. Select the note type and add details as appropriate.
- Permissions: Select permissions as appropriate. You can click on (i) icon to know more details about the permission.
- Activities: If your centre provides Bus/ Van transportation, select the checkbox if the child uses this facility.

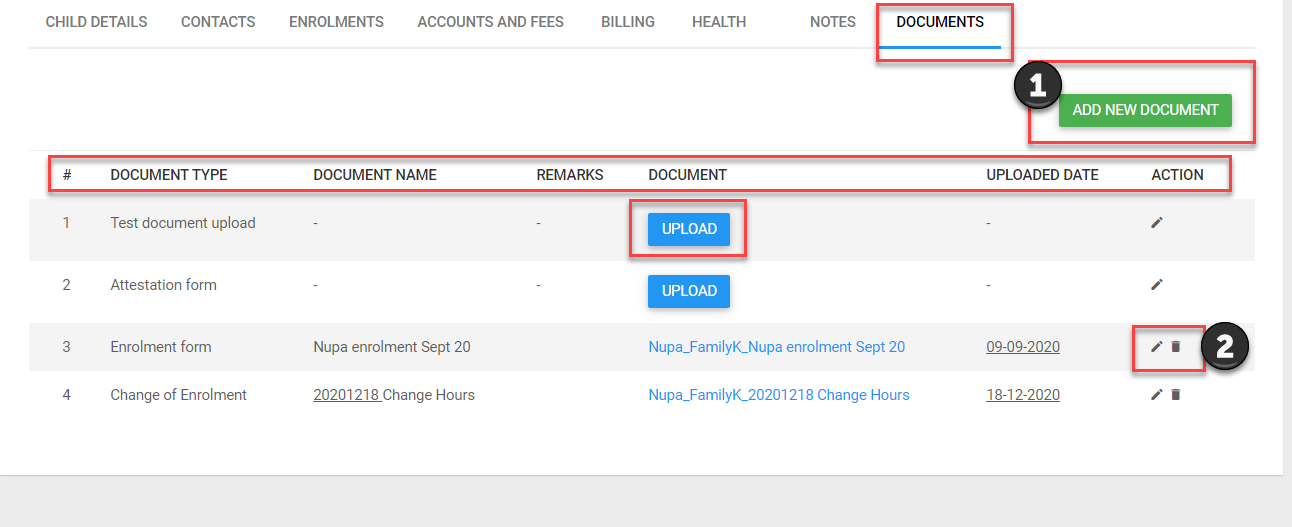
Documents Tab:
This is your document management system which allows you to store all your uploaded documents in the cloud for quick access in the future.
- Select Add New Document to add any document in the child record.
Print Enrolment:
Once all the details are entered in the form, click the Print Enrolment button to print/download the enrolment form and have it signed by the parents.
